
Running Cucumber in Parallel
First of all, if you using Cucumber as a BDD tool and having large feature set, then you are at the right place. Now we have an awesome Ruby Gem called ‘Parallel_tests’ which is going to make our life much easier by parallelising large set of feature to run much faster. You can read more ‘Parallel_tests’ on GitHub.
In this short tutorial, we will see how to use ‘Parallel_tests’ in our project and how to aggregate generated html cucumber reports.
We will use source code from my GitHub repository ‘Cuke_Experiment‘. Please download source code if you have development environment ready
$ git clone https://github.com/Shashikant86/Cuke_Experiment
$ cd Cuke_Experiment
You need to have Ruby 2.0.0 for this demonstration.
Using Parallel_Tests Gem
Parallel_Tests is a Ruby Gem for running RSpec, Cucumber and Test::Unit on multiple CPUs in the parallel to speed up tests. There are many benefits using Parallel_Tests Gem into your Cucumber.
- It is very easy to use in your existing project or test suite
- Parallel Tests forks cucumber into number of CPUs processes and you can specify number of processes.
- Parallel Tests can generate separate reports for each process using variable ‘ENV[‘TEST_ENV_NUMBER’]’
- You don’t need to change your test options. Just keep everything inside ‘-o “your test profiles’
Installing Gem
You can just run following command to install parallel_tests gem into your existing project
$ gem install parallel_tests
OR Simply add it in your Gemfile.
$ vim Gemfile
And add following line
gem "parallel_tests"
Now, you need to install bundler.
$ bundle install
That’s it. You are now ready to use parallel_tests into your project.
Using Gem
Once you have successfully installed parallel_tests Gem then you are now ready to use it. By default, it forks cucumber into 4 processes depending on number of feature files. If number of feature files are less than 8 then it usually use 2 processes.
$ bundle exec parallel_cucumber features/
Now that, this command will run all your feature files within the ‘features’ directory.
Running features from sub-directories
You can run specific set of features from sub-directories by navigating to that directory.
$ bundle exec parallel_cucumber features/homepage_features/
Running features with specific profiles or tags
You can run parallel_tests y using specific profiles or tags using test options ‘- o’
$ bundle exec parallel_cucumber features/ -o "-p stage -t @sanity"
Running features by specifying number of processes
You can specify number of processes to speed up feature executions by using option ‘-n’
$ bundle exec parallel_cucumber features/ -n 8
This will break down features into 8 different processes.
Generating HTML Reports
We can easily generate HTML reports for the each process and aggregate reports for each process. As we said earlier that there is a variable ENV[‘TEST_ENV_NUMBER’] which gives details about all the process that cucumber scenarios are executing.
In order to generate reports for all the processes, we need to create a profile in our ‘cucumber.yml’. Let’s call this profile ‘default’ profile.
default: --format html --out report<%= ENV['TEST_ENV_NUMBER'] %>.html
This will create HTML report for each process and name it as report.html, report2.html and so on.
Source Code & Quick Start
Source code available on GitHub ‘Cuke_Experiment‘ , Download it and get started. I assume, you have Ruby development environment ready(RVM, XCode, Homebrew etc etc)
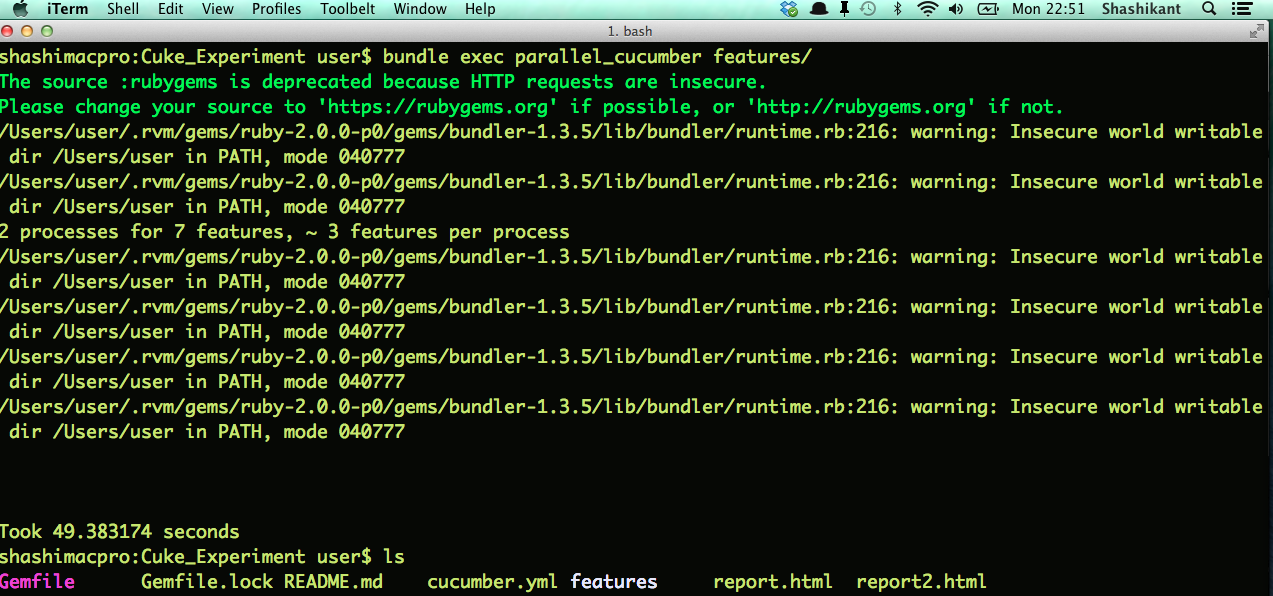
$ git clone https://github.com/Shashikant86/Cuke_Experiment
$ cd Cuke_Experiment
$ rvm use 2.0.0
$ bundle install
$ bundle exec parallel_cucumber features/
It will execute all the features in 2 different processes and generate report.html and report2.html. My i-Term look like this:
Watch Video Demo
You can watch in action in the following Video
HAPPY BDD !!