
The key benefits of Behavior-Driven-Development (BDD) practices are communication enhancement and customer satisfaction. You can read more on that by Dan North and Gojko Adzic. Perhaps the biggest practical challenge that stands in the way of reaping those benefits is the burden of provisioning, installation, maintenance of requisite complex and fussy infrastructure and setting up reliable test infrastructure. Cucumber is one of the most popular BDD framework available in the market to achieve the benefits from BDD practices. The problem is software teams seems to spend lot of the time setting up Cucumber and necessary toolkit around it. The management has to decide the tools and engineers have to research all the available tools to support agile practices like CI, code quality, test reporting, parallel execution, devOps integration. The process of getting BDD framework in a mature state become lengthy. Obviously, such approach would be time consuming, inefficient and costly. In this post, let’s see how to get up and running with 3 simple command to setup Ruby-Cucumber based BDD framework with Docker support using the BDDfire.
BDDfire
BDDfire is an instant Ruby-Cucumber BDD framework which collectively install BDD supporting tools and get you up and running within a minute. It is a Ruby library that creates skeleton for the ruby Cucumber Behaviour Driven Development (BDD) framework. BDDfire will create all the directories and required files to support the latest open-source libraries in the Ruby-Cucumber framework. You can read about BDDfire here
BDDfire Features
Cucumber is a very popular BDD framework. Cucumber become more effective when it’s plugged with other open -source libraries. Sometime we miss most of the useful libraries to be used with Ruby-Cucumber. BDDfire supports lots of modern open-source libraries so that we won’t miss new trends in the world of Ruby-Cucumber.
BDDfire has following features:
- Create template directories and files for the Cucumber project.
- Capybara and WebDriver Integration for executing acceptance scenarios in the real browsers
- Capybara and Poltergeist integration to execute scenarios in the headless browsers.
- BDDfire has lots of pre-implemented step so that you don’t to write much code.
- Supports API Testing using with pre-defined steps.
- Supports test execution inside Docker containers with PhantomJS
- Supports cuke_sniffer and Rubocop libraries which detect smell in the Ruby-Cucumber framework.
- Supports Relish for the living documentation.
- Rakefile has been automatically created as a part of BDDfire
- Supports YARD documentation of the cucumber project.
- Support Page Object Pattern
- Load and Accessibility Testing with Gatling and Axe Engine
BDDfire Motivation
BDDfire is motivated by few simple facts which could save organisation spending lot time and money on setting up frameworks to enable BDD.
- Three commands to get up and running with BDD
- Write your tests not framework
- Automate with less code
- Setup now, learn later
Three Commands towards BDD
With BDDfire, we can go from zero to complete BDD framework, by running just three simple commands
$ gem install bddfire
$ bddfire fire_cucumber
$ cd cucumber && bundle install
Let’s see how to get up and running with Cucumber style BDD framework within few minute.
Requirement
In order to get started with BDDfire, we have to make sure that following packages are installed on machine.
- Ruby > 2.0
- Docker installed on machine to run our BDD scenario inside containers.
- PhantomJS : To run scenarios using Poltergeist Capybara driver. On Mac you can simply install it using Homebrew “brew install phantoms”
- gecko driver : To run scenarios inside Firefox. On Mac you can simply install it using Homebrew “brew install geckodriver”
BDDfire Installation
BDDfire is a RubyGem and it can be installed using
$ gem install bddfire
If you are using system Ruby then you have to run the command using ‘sudo’. This will take bit of time and download all the required ruby libraries. Once finished without error, you should be able to use ‘bddfire’ command. Now run ‘bddfire’ command from terminal to see all available options
$ bddfire

Usage: bddfire <command-name> [parameters] [options]

  <command-name> can be one of
    help
      prints more detailed help information.
    fire_cucumber
      generate a features folder structure.
    fire_accessibility
        setup accessibility checks with axe-matchers
    fire_load
        setup load and performance tests using Gatling
    version
      prints the gem version
That’s it. We have successfully installed ‘bddfire’. Now let’s install Ruby-Cucumber BDD framework using ‘fire_cucumber’ command.
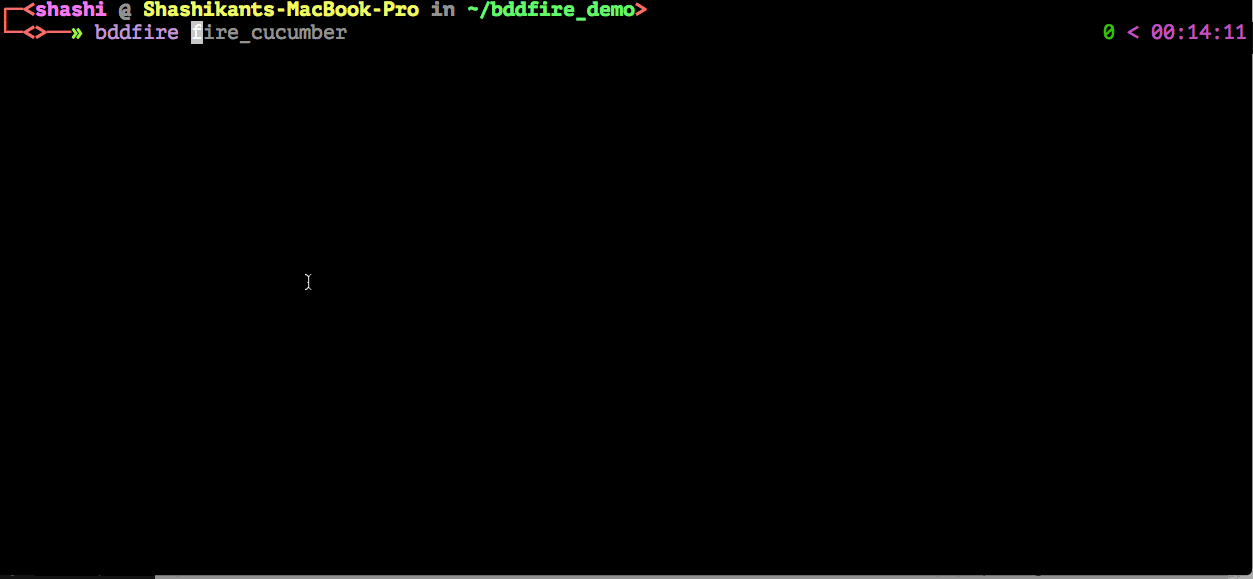
$ bddfire fire_cucumber
This will create ‘cucumber’ directory and setup all the framework within that directory. BDDfire will create all the required files for our framework.
Let’s ‘cd’ into ‘cucumber’ directory and install bundler.
$ cd cucumber
$ bundle install
Congratulations ! You have just setup BDD framework with all the basic toolkit to cover code quality, browser/cloud test, API test and Docker integration. Let’s explore how to use it.
Start Running Scenarios
Now that, we have installed our Ruby-Cucumber framework with all files and directories. We can run our first headless scenario using Poltergeist.
$ bundle exec rake poltergeist
You won’t see browser as scenario is executing within headless browser PhantomJS however we can take screenshots and debug information by tweaking Poltergeist setup in the ‘features/support/env.rb’ file.
Real and Headless Browser Support
Automated cucumber scenarios can be run with a real browser or with headless browser. BDDfire gives you the option to run them in both. Selenium WebDriver can be used to run automated Cucumber scenarios in real browsers without any additional setup. Selenium driver for Capybara is setup for you with a default Cucumber profile. We can run our scenarios in the Firefox/Chrome browser like this:
$ bundle exec rake firefox
$ bundle exec rake chrome
In a similar way, we can run the scenarios in headless browsers like PhantomJS using Poltergeist as Capybara driver. The Poltergeist driver is already setup for you in ‘features/support/env.rb’ file. BDDfire also created a profile to run scenarios with headless browser. You can see your scenarios executed but you won’t see any browser launched, this helps to run automated Cucumber scenarios faster than with real browsers.
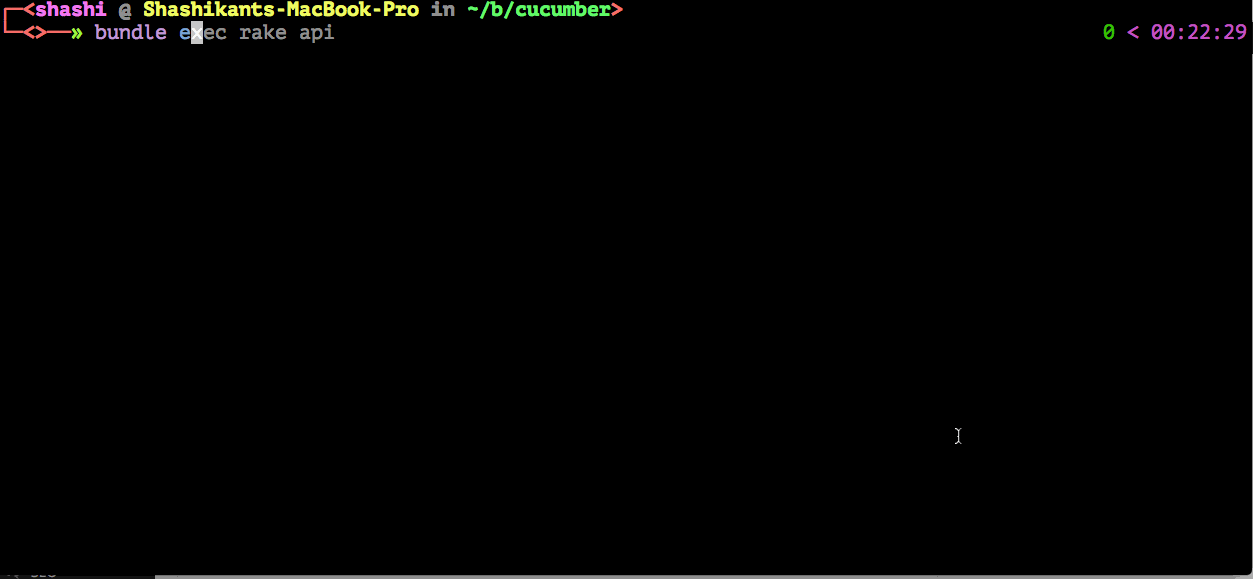
There is one more pre-defined scenario for running API Test which checks JSON response from Github. We can run that test using
$ bundle exec rake api
Cloud Testing Support
BDDfire gives you an option to run tests in third party cloud testing services like SauceLabs, BrowserStack and TestingBot. In order to use those services, you need to create an account and get an username and assess key. There are various Rake tasks to the run tests in the Cloud Testing services like SauceLabs, Testing Or BrowserStack. We just need to plug our username and API key in the ‘feature/support/env.rb’ file. You can then use that access key in ‘features/support/env.rb’ file to run the automated Cucumber scenarios. If you are running tests in the BrowserStack, you will have all the stacks defined in the ‘browser.json’ file. We can use any of them. We need to configure BrowserStack username and access key in the driver configuration.
$ BS_STACK=osx_firefox bundle exec rake browserstack
Using the same setup, you can run automated scenarios in the other third party testing services like SauceLabs and TestingBot.
Living Documentation
BDDfire gives you an option to use Relish as living documentation tool. Relish publishes feature files online so that the whole team can read and access them. In order to use Relish, you need to have a Relish account and API TOKEN that can be obtained by visiting ‘https://www.relishapp.com/api/token‘ after logging in.
BDDfire creates a file ‘.relish’ where you need to paste your token. Now you can publish your feature files online by using
$ bundle exec relish push {Publisher}/{project}
Code Quality
BDDfire comes with two code quality checking tools : Rubocop to check Ruby code quality and Cuke_Sniffer to detect smells in the Cucumber features, step definitions and hooks. BDDfire creates a ‘.rubocop.yml’ file with basic Ruby code quality rules. You can change the configuration according to your requirements. With this configuration, you can use Rubocop to detect smell in our Ruby code
$ bundle exec rake rubocop
In similar way, you can use Cuke_Sniffer to detect smell in the Cucumber project. Cuke_Sniffer runs through all feature files. step definitions, hooks and support code. It finds out dead steps and suggests improvement to write better feature files. You can execute Cuke_Sniffer like this:
$ bundle exec rake cake_sniffer
Continuous Integration
BDDfire creates a ‘ci_script’ file to run automated Cucumber scenarios on continuous integration server like Hudson and Jenkins. It will clear the workspace by deleting old reports, creates YARD documentation for your project and runs Rubocop and Cuke_Sniffer before executing your scenarios. You can also change this file to suit your project need. You can execute this bash script on any CI by passing one of the rake task
$ ./script/ci_script RAKE-TASK
Add Scenario with Pre-Defined Steps
BDDfire allow us to use predefined steps so that we don’t have to write more code while writing cucumber steps. BDDfire has following predefined steps which can be used anytime during your project. This is major advantage if test engineer is non-technical, he can write automation code using those steps.
Browser Based Pre-defined-steps
You can use Browser based steps to run scenarios within browsers like Google Chome or Firefox.
Poltergeist Based Pre-defined-steps
You can use headless Poltergeist based headless Poltergeist based steps to run BDD scenarios with PhantomJS which is headless browser.
API Based Pre-defined Steps
Just tag your scenario/feature with @api and You can use inbuilt predefined API Steps API based
Start Running Scenarios within Docker Containers
Docker has became so powerful tool in the world of continuous delivery and continuous deployment. Software team has to provision all the infrastructure to run as a docker containers. It would be awesome if we could able to run Cucumber scenarios inside the docker container. Fortunately, BDDfire have done all that provisioning work for us however we can only run PhantonJS/Poltergeist based headless scenarios within Docker Containers. BDDfire will
- Build Docker image with provisioned with Ruby and PhantomJS
- Map project directory to docker container and install softwares
- Run BDD scenarios inside the docker container
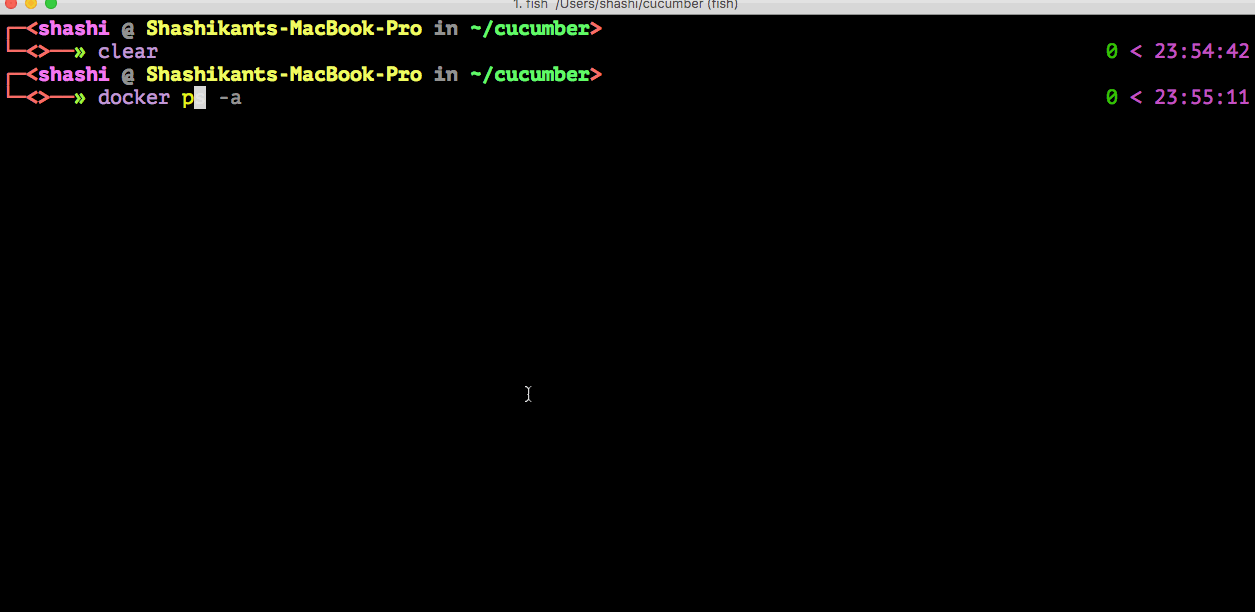
Assuming, you have Docker installed, you just need to need to execute docker rake task
$ bundle exec rake docker
This will take long as Docker images will be built from scratch. Be patient and watch the BDD scenarios running inside containers at the end.
We can mount the volume of our project repository and docker containers to generate and share test reports. You can modify ‘Dockerfile’ and script ‘docker.sh’ according to your need. In this way, we can run our BDD scenarios inside Docker containers.
BDDfire will also support non-functional testing like load/performance testing with Gatling and accessibility testing using Axe engine which we will cover separate article.
Conclusion
We have seen that process of setting up an BDD test framework become very quick using tools like BDDfire. We can set entire framework with code quality, browser testing, cloud testing, API testing and docker integration by running 3 simple commands. Now that we can spend time writing BDD scenarios not the framework.